
 I was finishing up some of my Christmas decorating when I realized I NEEDED one of those cute tree signs that I have seen in every store this year. I spent a day looking for the perfect sign for my shelf and had no luck! Everything was sold out or not what I was looking for. So I turned to my Cricut and made my own! This was the first time I’ve used Cricut’s printable vinyl and I have to say I’m pretty impressed with it!
My dad had some old wood lying around his garage and cut me this board that is about 16 x 20 inches!

I knew that I wanted a distressed look for this project so I started by painted my board a grey. I only did one coat and was okay with it being streaky and a little thin in places because I later covered it up.

Once the grey was dry I took my white paint and did a couple of coats over the grey. I wanted this one to be much more smooth.

Once it was all dry I took some sand paper and started distressing it.

This is how you get the original grey colour we painted to show through giving it a distressed, weathered look. I sanded it very lightly overall and more thoroughly in certain areas where I wanted the grey to really stand out.

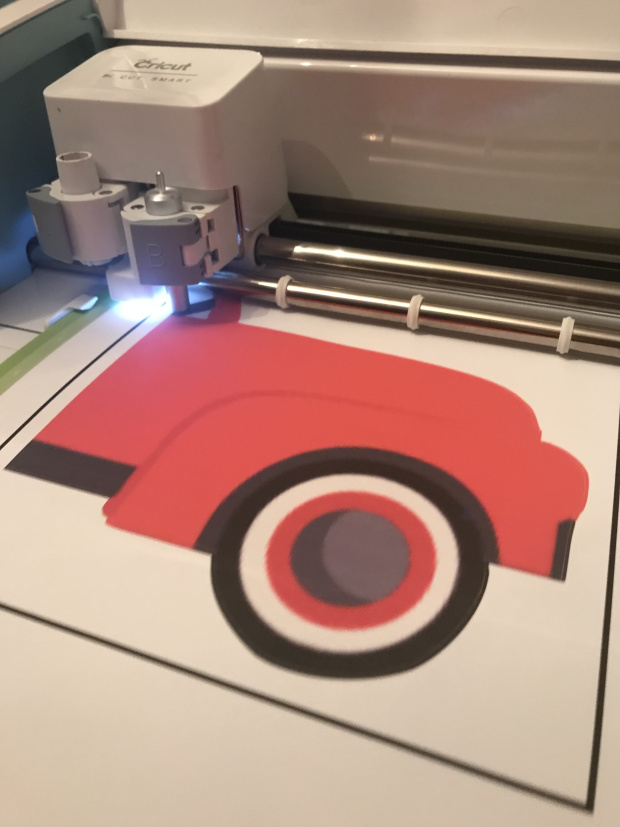
Next I went to Cricut Design Space and began creating what I wanted my sign to look like! I found this image on google and uploaded it to Design Space and added my words. After sizing everything I realized my image was too large to print or cut. I used the slice tool on parts of image so they would not cut as one piece. After you will put them back together!

This was the first time I was using printable vinyl. First you print it then load it into the Cricut and it cuts just like it would any other surface. I was very impressed that the ink didn’t rub off or smudge. I have worked a lot with Cricut’s sticker paper in the past and thought that it might be a very similar product. However I found that the vinyl unlike the sticker paper was as thin as regular vinyl.
After printing and cutting my truck on printable vinyl, I loaded my black adhesive vinyl and cut my words,

Next I weeded all of my words.

And then applied Transfer tape to them all. I didn’t apply transfer tape to the truck. This image was large and simple enough that it was easier to apply it by hand. However now I am wondering how well the colours hold up to the transfer tape. If you have experience with his leave a comment below. I’m also going to try this out for myself soon!

Next I did A LOT of measuring! Because my project was so large and in so many pieces I wanted to try to lay things out as closely as I had pictured.

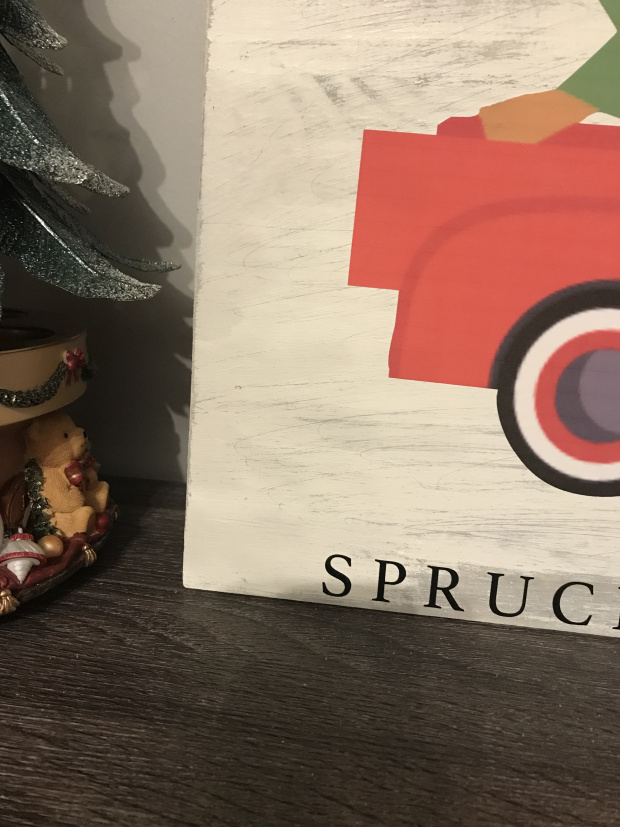
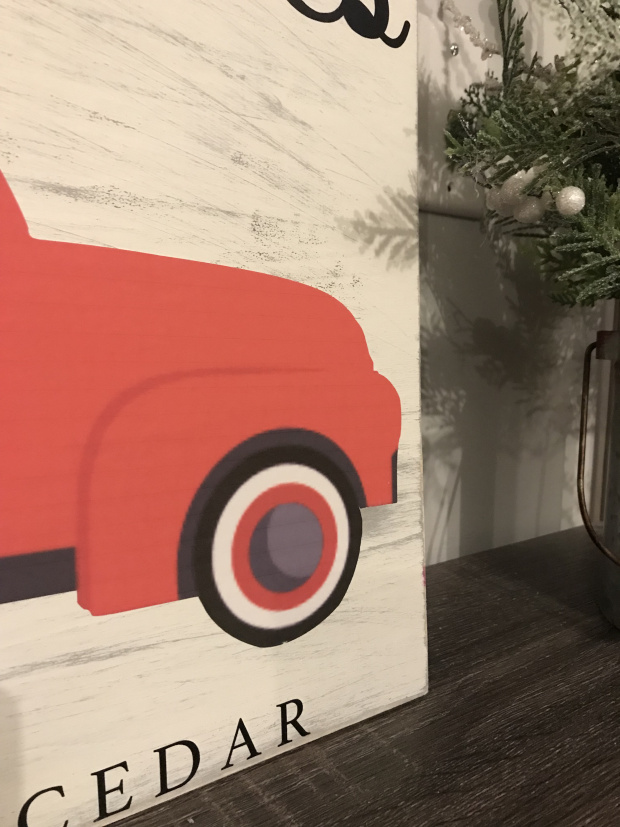
When starting this project I didn’t have much hope for it but was so happy with how it came out! The best part was that I only used supplies that I already had so I didn’t have to buy anything new for this project! Picture below also features the beautiful Christmas arrangement my mom made me!


This is beautiful! One of my favorite crafts you’ve done so far!
LikeLiked by 1 person
Thanks! I think it might be one of my favourites as well! I’m glad you liked it!
LikeLiked by 1 person
I’ve been on the fence about cricut I’ve wondered all that I could do with it, you definitely have done some amazing things with it for sure
LikeLiked by 1 person
I have the Original Cricut Explore Air, I love it and it can do incredible things, I’m hoping to upgrade to the Cricut Maker which can do a lot more including the ability to cut fabric!
LikeLike